


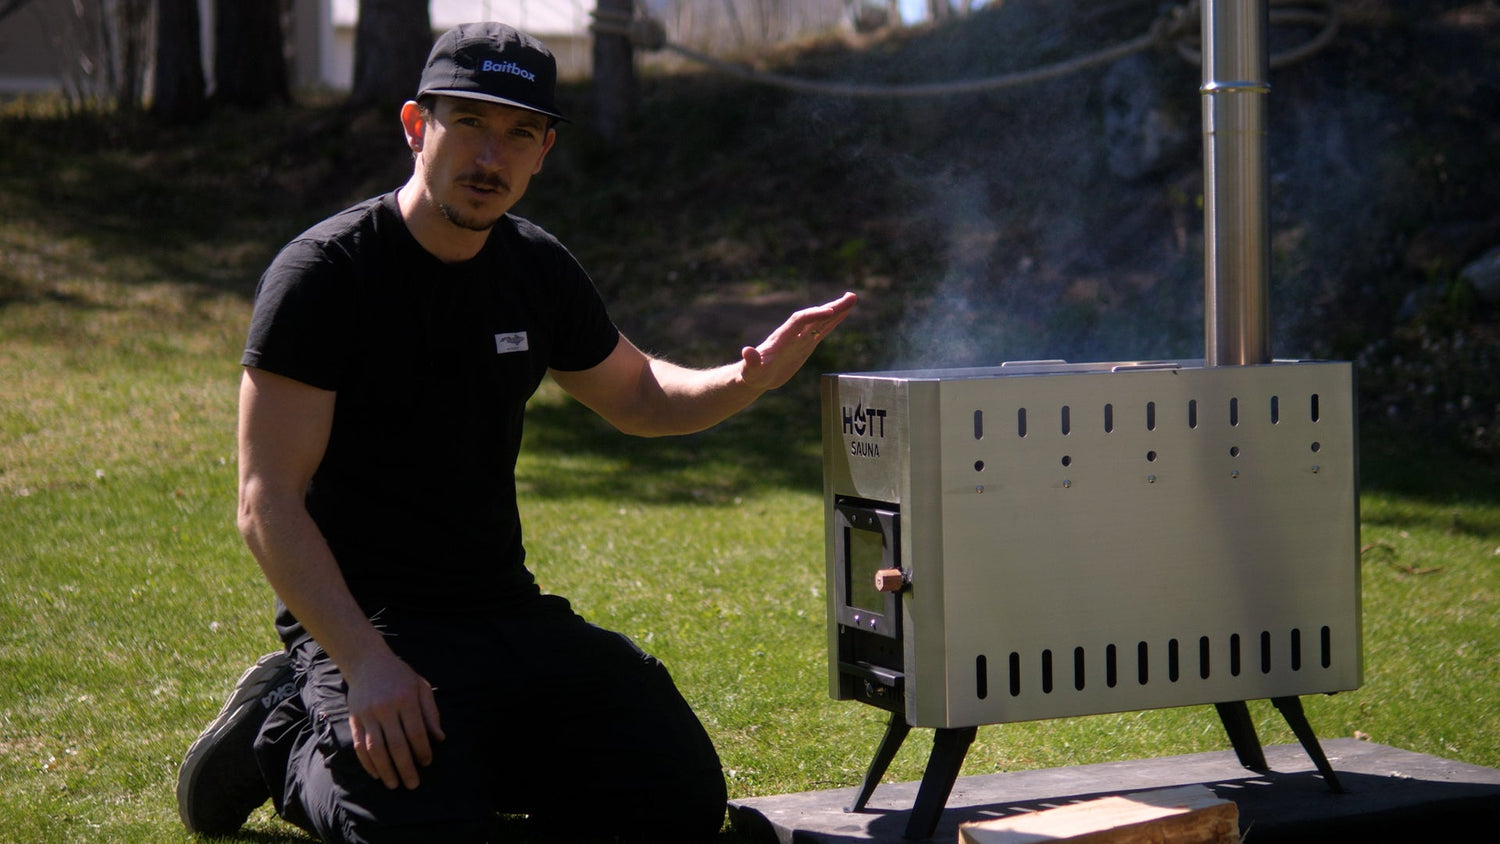
Before using the sauna stove inside the sauna, it must be burned in outdoors. This is an important step to burn off oil residues from manufacturing and to cure the paint on the stove.
Unfold the legs and place the stove outdoors on a safe, non-flammable surface. Make sure there is plenty of space around it.
Keep a steady and strong fire going for about 2 hours. During the burn-in, the stove will smoke and smell as the paint cures. This is completely normal but should not happen inside the sauna. Therefore, the burn-in must always be done outdoors and with caution.
When the stove stops smoking, the burn-in is complete. The time may vary, but expect up to about 2 hours.
All painted parts must receive sufficient heat for the paint to cure, so be extra thorough.
If the stove still smokes when you light it inside the sauna for the first time, it means the burn-in was not sufficient. Avoid using the sauna if smoke occurs inside the tent. Instead, let the stove finish curing and ventilate thoroughly.
Let the stove cool completely before moving or installing it in the sauna.
Done. A properly burned-in stove provides a better and safer sauna experience.
 Our app SaunaLogger


Leave a comment
All comments are moderated before being published.
This site is protected by hCaptcha and the hCaptcha Privacy Policy and Terms of Service apply.