

The pop-up tent Glöden is designed to be smooth and easy to use, whether you are sauna bathing in the wilderness, by the lake, or in your own garden. Follow these steps for a safe and stable setup:
1. Set up the tent
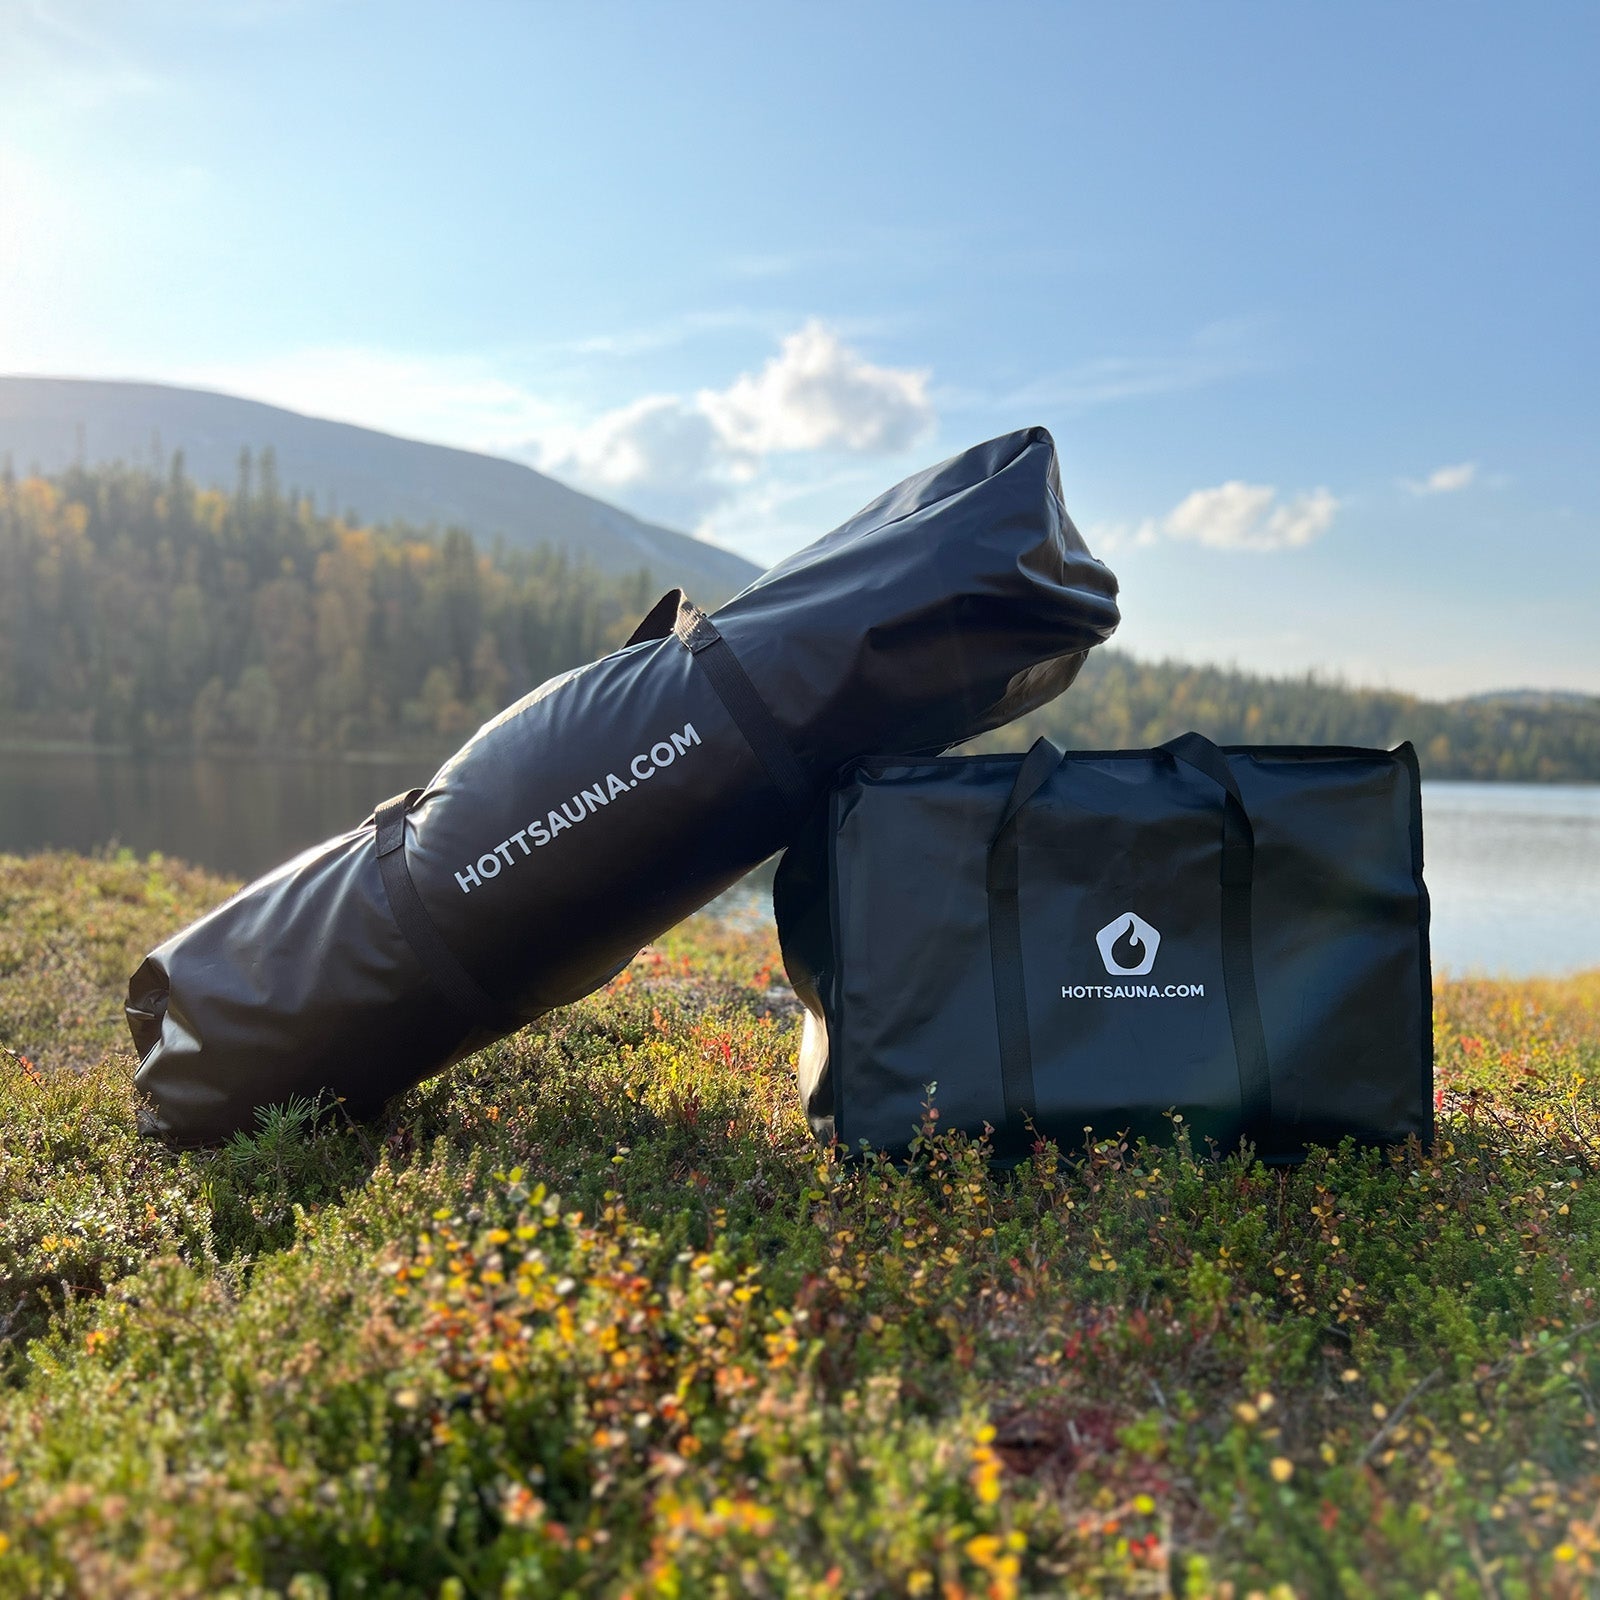
✔ Take the tent out of the bag and place it on a flat surface.
✔ Unfold the tent walls by grabbing the loop in the middle of each wall and pulling outward. Start with the four walls and finish by pushing up the roof.
✔ Anchor the tent to the ground. Take the 4 ground screws and anchor the tent’s 4 corners. Attach the guy lines to the same loops you used to unfold the walls and anchor the lines in the ground with ground pegs. Make sure the tent stands firm and windproof.
✔ For those with weather protection:
You install the fireproof fiberglass roof by laying it over the tent’s roof with the opening correctly placed over the chimney hole. Attach the roof’s four straps to the tent’s lower tent pegs and anchor the corners in the ground.
Important: Do not attach the straps to the small loops halfway down the tent walls – they are not designed to withstand strong winds that can pull on the roof.
2. Install the stove
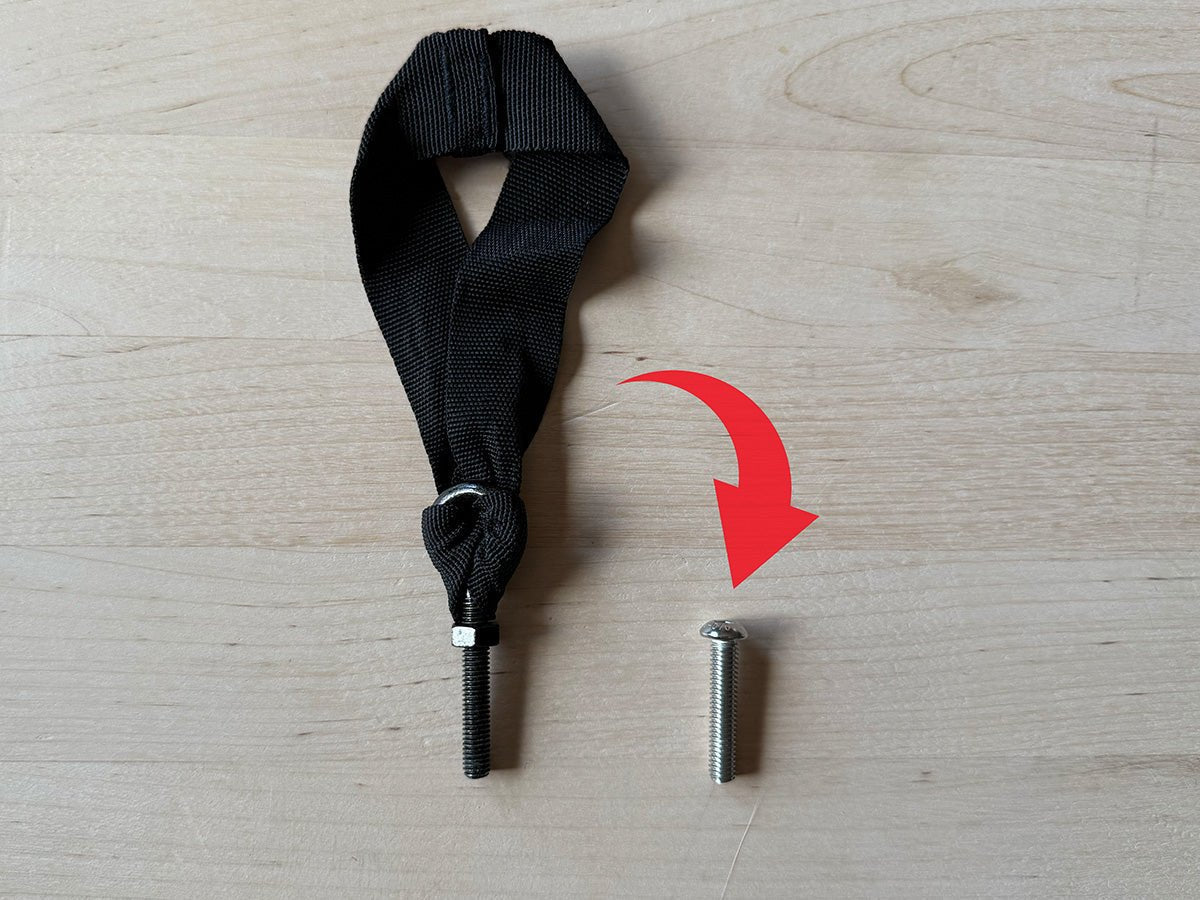
✔ Unpack the stove, if it is the first time you unpack it - remove all protective plastic and packaging. Assemble the knobs for the door and ashtray. You will find the knobs in the ashtray on the stove.
✔ Unfold the legs under the stove, the stove must always have the legs unfolded when it is lit.
✔ Burn off any oil residues by heating the stove outdoors before using it in the sauna.
✔ Place the stove in the tent and make sure it stands firmly on the ground. If a floor is used, always place the stove on the fireproof mat and never on any other part of the floor as it can cause damage or melting.
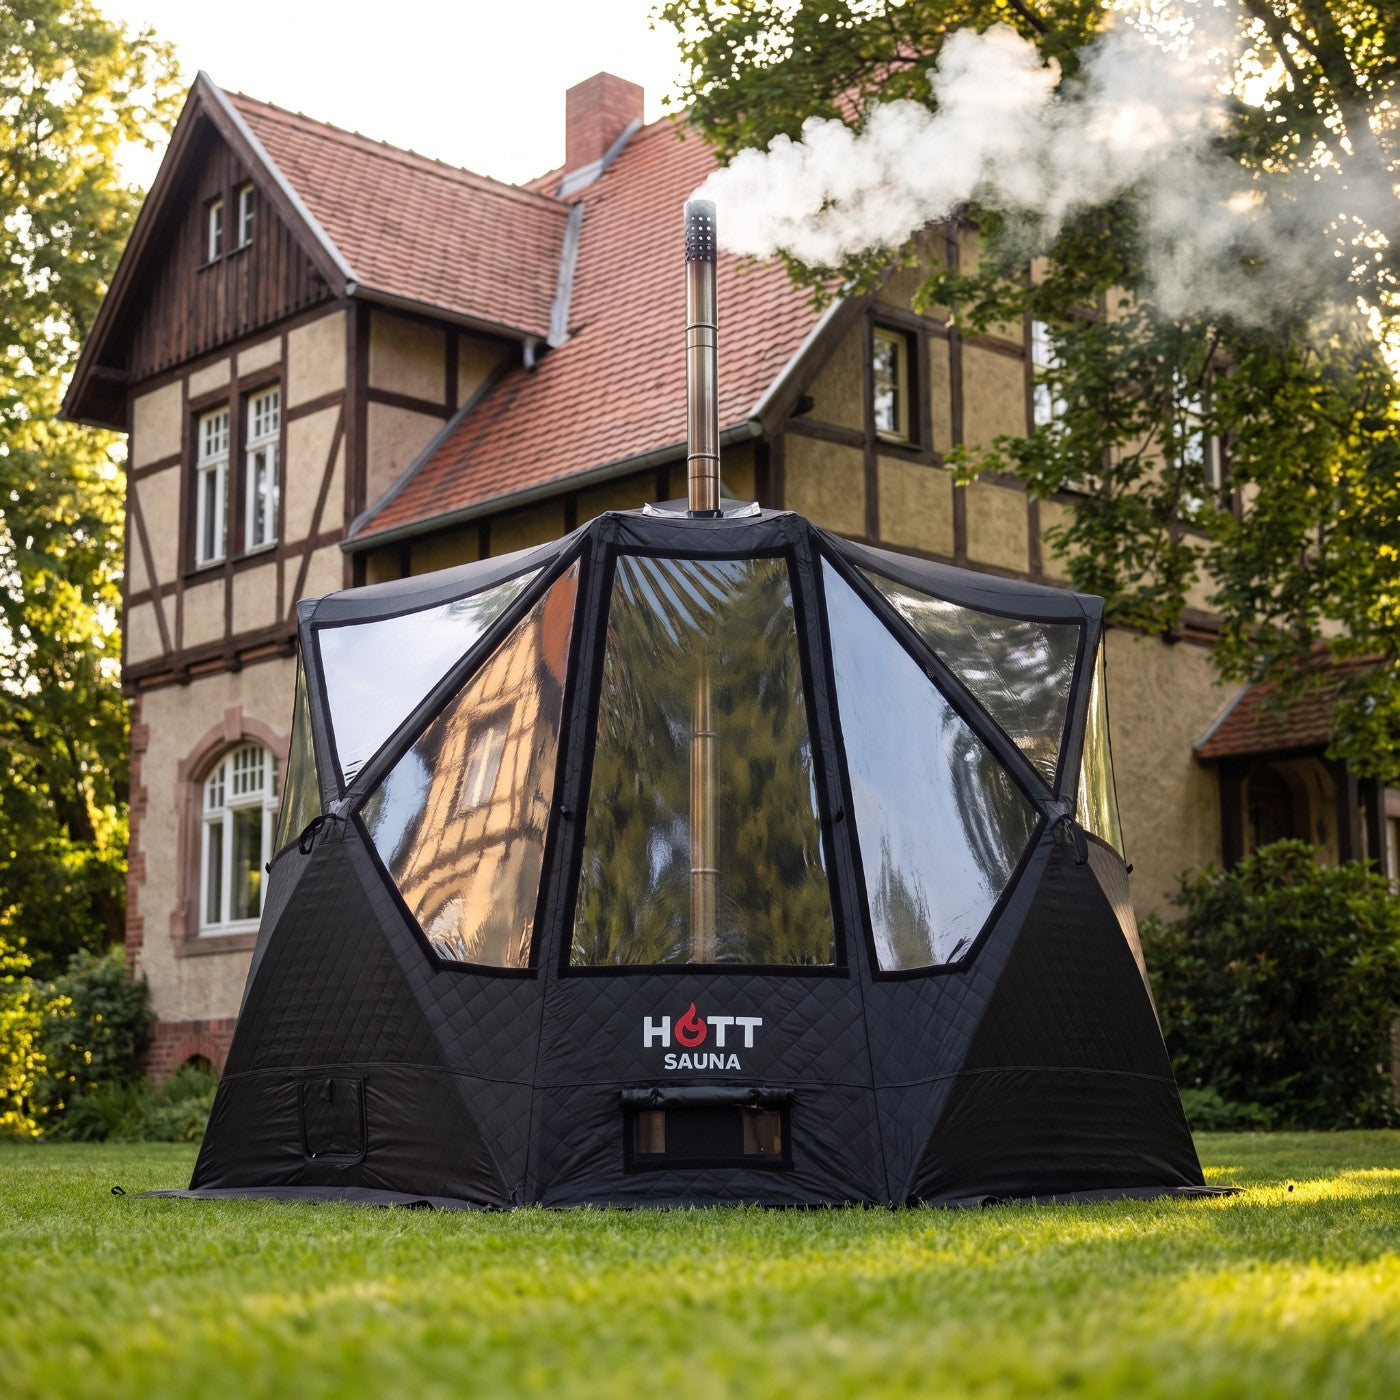
✔ Assemble the chimney by connecting the chimney pipes and placing the spark guard at the top. Pass the chimney through the stove opening in the roof and then connect it to the stove.
✔ Ensure ventilation – open the two ventilation flaps in the tent: the ventilation flap behind the stove and the triangular ventilation flap on the upper part of the door wall. The upper ventilation can be used to regulate the heat, open or closed while the tent is in use, whereas the ventilation behind the stove should always be open. Never use the tent with the ventilation behind the stove closed!
✔ Make sure the stove does not touch the tent walls or other objects in the tent. If you use a fireproof mat, place it under the stove.
✔ Place the sauna stones on the stove to create the right sauna feeling.
✔ If a water tank is used: Always place the water tank on the chimney pipe, not directly on the stove. Always fill the water tank with water before use. An empty tank that is heated can be damaged in the seals.
3. Prepare the sauna
✔ Place sauna benches or stools so that you and your guests can sit comfortably.
✔ Light the stove by filling it with wood and igniting it. At first, the lower damper can be fully open to get maximum oxygen. When the fire catches, gradually adjust the damper to regulate the heat.
4. Enjoy the heat! 🔥
When the tent is warm and ready, just lean back, throw some water on the stones, and enjoy your portable sauna experience!
Tips:
• Always make sure the tent is well anchored, especially in windy conditions.
• Keep a safety distance between the stove and the tent walls.
• Never leave the sauna unattended while the stove is on.


Leave a comment
All comments are moderated before being published.
This site is protected by hCaptcha and the hCaptcha Privacy Policy and Terms of Service apply.